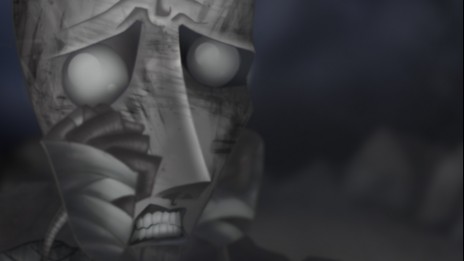
I've had so many people ask about how I did the special effects in Tarboy, and despite the fact that I intended to write a proper tutorial about for my blog, I decided to write a quick guide for how I did some of the art. I've posted it up on the forums, but I figured I'd post it here too. I figure it could help someone if they don't frequent the forums too often.
You can download the source FLA here (CS3):
http://www.newgrounds.com/dump/item/e9 fe906bf173b700f5123548058a7c49
Explanation below, copied from the thread here http://www.newgrounds.com/bbs/topic/12 55008:
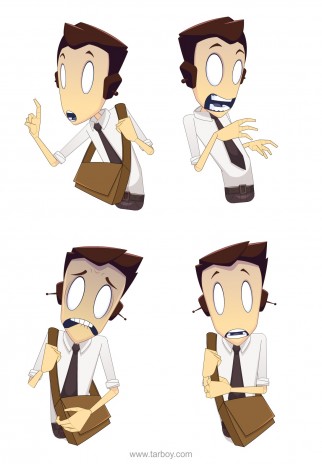
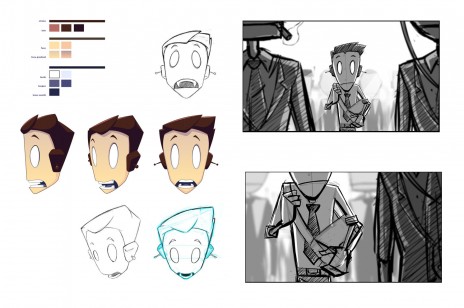
I used tweening for the Robots, and for Tarboy I used a more hybrid approach. Some scenes for Tarboy are all tweened symbol animation, others contain elements of traditional animation (FBF) and some morphing for simple shapes.
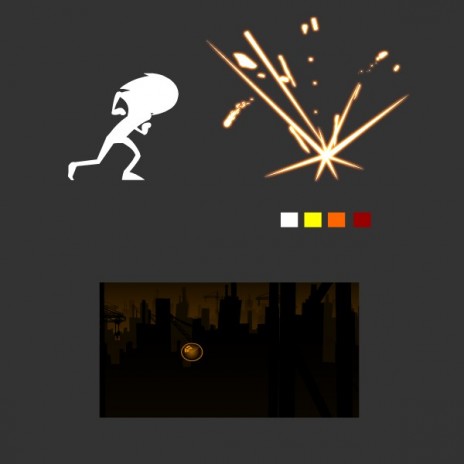
For the sneak cycle for example, the head and arms are tweened, the torso is morphed, and the legs are traditional. Each part is nested into a symbol, as I like to keep my elements separate, so it's easy to make minute changes as I go. Because Tarboy's design is a silhouette, it makes it a bit easier to work in this way, I don't need to worry about the sharp edges of the morphing etc as it just bleeds into the overall white shape.
The sparks and FX are all Flash. What I do is start by animating a simple white shape (a single piece of debri, a disintegrating flame or something. Once I have a few base elements, such as the flame, the bouncing debri, the initial burst, I duplicate the hell out of everything. I flip and rotate everything to make it less apparent that I've duplicated it, and change it's first frame so that not everything happens at the exact same time, or it will break the illusion. It works best if you try to not make it too 'random', but have different levels of variation. There might be small parts of the explosion where there's many little flames clustered together, spewing out in an overall direction, and another part where there's one bigger flame (which I might sometimes expand the duration of this one symbol to give a bit more variation). When I'm satisfied with the look and timing, I place everything into the one movie clip symbol, and apply my glows. To give a more realistic effect, I apply three glows into the symbol which is the hotter colour close to the centre (usually yellow), the cooler colour (orange), and the coolest colour on the outside (darkish red). The content of the symbol itself is the hottest part which is already white. If you apply an 'add' blend mode to this movie clip, it will help to create more convincing glow effect.
The camera movements are Flash as well. Unfortunately it's impossible to render out an SWF which retains vector data from After Effects. The basic idea is that the furthest objects from the camera move slower, and closer objects move faster. This is true for when the camera is in motion, whether it's moving from side to side, forward or back, rotating in space. If the camera is simply zooming on an object (instead of physically moving towards it), this isn't the case, everything move at the same rate.
Flash is quite primitive when it comes to handling more complex camera moves (such as if the camera is moving from left to right, while zooming in and rotating). In these cases it's better to separate the movements into different symbols. Eg: Nested in the first symbol is all of the elements, simply moving from left to right. From outside that symbol, apply rotation. From outside that symbol, apply the zoom etc. This allows you to have varying rates to the zoom, while have a constant left to right motion if you need to.
